
When you're looking for a DIY gift idea, the "movie night in a box" is one that tops my list. I mean, why not give an experience style of gift? Way more fun! This movie night in a box gift is super cute and a way to make memories with your family or friends (because they better be inviting you to the movie night...!). Movie Night Gift in a Box Supplies What I love most about this easy ... View the Post
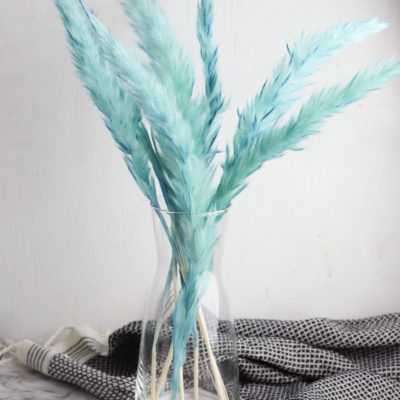
How to Dye Pampas Grass {Tutorial}
Pampas grass is my new favorite fall decoration. And while I love the beautiful neutral colors of natural pampas grass, sometimes you need to make a statement with your arrangement! Luckily, it’s so simple to dye your pampas grass in any shade you want. Follow these easy instructions to add a beautiful pop of color to your next floral arrangement. Supplies You'll Need To Dye Pampas Grass: You ... View the Post
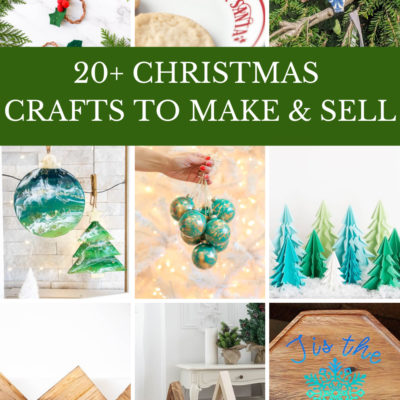
20+ Christmas Crafts To Sell {start a side hustle!}
Looking to start a side hustle? Are you crafty and want to turn that into some revenue? Here are some ideas for Christmas crafts to sell. Choose the ones you want to make and then sell them at your local craft fairs, on Facebook Marketplace, through Instagram, or in your local neighbourhood. People love supporting local and handmade goods, especially during the holiday season, so it's a great time ... View the Post
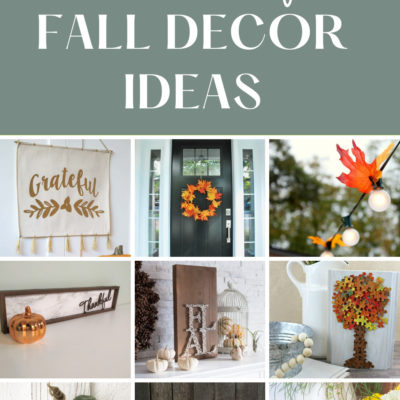
20+ Beautiful Fall Decor DIY Ideas
The weather is cooling, leaves are starting to turn colours, and pumpkin spice lattes are back at Starbucks... it's time to switch out our summer decor for some warm Fall decor! If you're anything like me, you love to do a craft project. So I've rounded up some inspiring fall decor DIY ideas for you. 20+ Gorgeous Fall Decor DIY Ideas: DIY Fall Leaf Wreath from ... View the Post
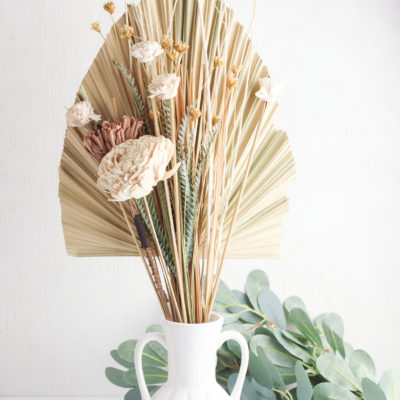
How to Make a Bohemian Dried Flowers Arrangement
Decorating with flowers is a great way to spruce up your home’s décor. But when you use fresh flowers, you have to replace them every few days! Instead of taking the time to add new flowers to you home when your fresh flowers die, why not use dried flowers instead? This simple dried palm leaf flower arrangement is a simple way to decorate your home with real flowers without the need to replace the ... View the Post
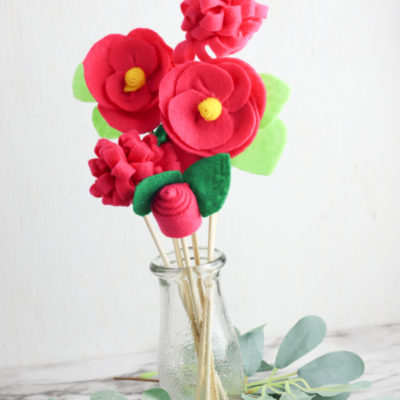
Make This –> DIY Felt Flowers Tutorial
Decorating your home with flowers is a great way to add some spring style to the space. But fresh flowers don’t last long after bringing them inside! Keep the spring spirit alive throughout the season with the help of this simple felt flower bouquet, which features three different flower designs. Keep reading for the full DIY felt flowers tutorial. Supplies for DIY Felt Flowers: One of the ... View the Post
- 1
- 2
- 3
- 4
- Next Page »