Before you even read how to diy gold foil pillows, I know what you’re thinking. You’re all “Gemma, Halloween was on Tuesday, how can you be posting about Christmas already?”
Well, listen… I love Christmas and if I can stretch it out for two whole months, I’m going to.
The other reason is that this month, I’ve joined forces with four other rad bloggers who love black, white, greenery, and shine as much as I do for our Modern Holiday Home series. We’re going to be bringing some fun holiday projects and decor EVERY SINGLE WEEK for five weeks.

This week, we’re partnering with Therm-O-Web to take on some projects with Deco Foil! You can find all of our projects linked at the bottom of this post AND we’re partnering on a sweet giveaway to get your own stash of Deco Foil to craft with (that’s at the bottom too- make sure to enter!).

First up?
DIY Gold Foil Pillows.
Have you heard of Therm-O-Web? They have amazing craft supplies, and one of their lines are the DecoFoil transfer sheets, adhesives, and stencils. The transfer sheets come in just about every colour (including metallics) and you can transfer them onto any kind of paper or fabric surface using an adhesive.
Forget gold leaf, this is the easiest and coolest way of making diy gold foil pillows!
Step 1: Gather Materials
I hadn’t ever used transfer sheets before, and thought I would try out making some lettered pillows.
Now, let me just say: I am *NO* expert at lettering. There are so many amazing letterers out there who have serious skills, but that’s not me. Anybody can do what I did here.
First up is that you need to get some Deco Foil gold Transfer Sheets and Liquid Adhesive.
You also need some pillow cases. I grabbed the IKEA Gurli pillow in white, but I also think doing black or blush pink would be amazing.

Step 2: Apply Adhesive
Before I went ahead with the adhesive on my pillows, I drew out my “holly jolly” design on paper first so that I could practice a little bit. Then I took my adhesive tube and free-handed the lettering onto a plain white pillow. The adhesive comes in a tube with a fine tip, making it easy to do this kind of thing.
When you first apply the adhesive, it comes out white like you can see below. Sort of like plain white glue.

Step 3: Let Dry
You need to let the adhesive dry until it turns clear. If you try to transfer the foil on too soon, it won’t transfer and it will just smudge all the glue around and make a mess.
Because the adhesive for the lettering is quick thick, it took about half a day to dry completely clear.

Step 4: Apply Transfer Sheets
Once it’s dry, then it’s the really fun part. You take your gold sheets, place them on top of the writing, and then basically just press down on the sheet so that it transfers onto the glue.

You sort of don’t think it’s really working, and then suddenly you lift up the paper and realize it looks so cool.

Go over each section of adhesive, transferring the foil onto your design.

DIY Gold Foil Pillows – That’s it!
Isn’t that fun? It’s really addictive….


I’ve put it in our bedroom for now, but stay tuned to see how it mixes in with the rest of our Christmas decorating, which I’ll be sharing as the month goes on!

Want to see what the other girls did with their Deco-Foil?

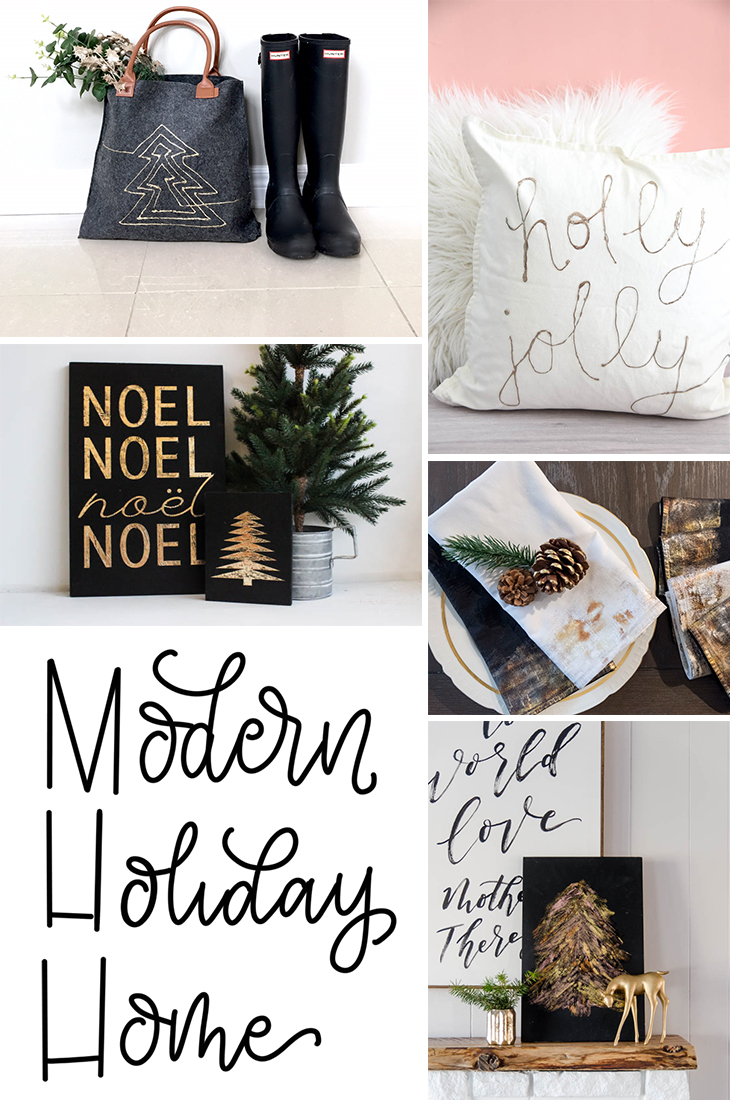
Harlow & Thistle’s gold foil Christmas tree tote / The Sweetest Digs’ holly jolly gold foil pillow / Love Create Celebrate’s black and gold foil holiday signs / The Learner Observer’s metallic foiled holiday napkins / Lemon Thistle’s foil brush strokes sign & tags
Giveaway time!!!
This post has been sponsored by Therm-O-Web. If you’re wanting to craft something with metallics, look no further!