If you follow me on Pinterest, you might have noticed a recent trend toward pinning paper flowers – there are so many ways to do them, and they are just so pretty. With spring in the air, I finally got my act together and actually made some.
I choose one of the simplest methods I could find, because let’s be honest… simple is good. I might work my way up to watercolour painted flowers with torn, beautiful petals, but these little rosettes turned out quite sweetly and were so, so easy to do.

DIY Paper Flower Tutorial Supplies:
- Pink cardstock paper (feel free to use any colour, but I like that Recollections brand!)
- Scissors
- Hot glue gun & glue
- Floral picks (they are basically a wooden stem with wire attached at the top)
It’s pretty straight forward, but I’ll take you through the steps.
Step 1 //
Cut a large circle in your paper (I would get 2 circles from an 8.5 x 11 sheet of paper). Then cut that circle into a spiral, leaving a reasonable base in the middle.
Step 2 //
Starting with the outside edge, curl your rosette up into shape. I would do this before any gluing, just to get the shape and look right.
Step 3 //
Roll up again, and this time put a dab of hot glue every now and again to glue your flower into shape. Once you get to the base, you’ll have to put a few squiggles of glue on that bottom base circle and hold your rosette up against it to set.

Step 4 //
Poke your flower pick/stem through your flower, turn over, and put a dab of hot glue on the bottom to keep them firmly together.
Turn over, and voila!

Recap – in one easy photo…
And really, they are ridiculously lovely.
I now have so many ideas floating around of how I want to use these — put some up on the wall somewhere with washi tape, skip the flower stem all together and just put the rosettes along a table like a runner, or put 1-2 in small vases all the way down the table as a centerpiece. So many ideas! 
I had some turquoise paper hanging around with my pink stack (from this mixed pack), so I made a few teal beauties while I was at it.
You can see the top of the stems more clearly in this photo. If you didn’t like the way those looked, you could just add a little bit of tissue paper to the top of the stem as the “center”. With some white paper and a black center, they could look a bit like anemones (such a pretty flower!).
Each flower is slightly different and I think it’s nice to be a little imperfect on this one. Adds to the charm, you know?
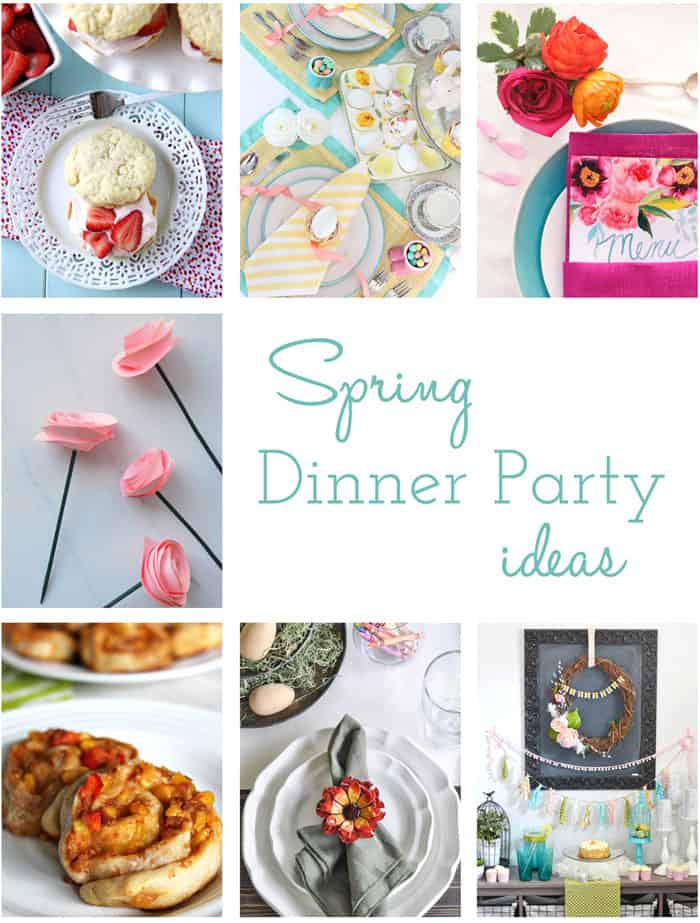
I have gotten together with some of my favourite fellow Canadian blogging pals and we have put together everything you need to throw a whole “spring dinner party” here. My flowers can be the centerpiece of your table, and these gals have you covered for everything else – from appy’s to drinks to party decor. Have fun checking them out!
Jo-Anna of A Pretty Life in the Suburbs made a delicious Strawberry Shortcake dessert
Virginia of Fynes Designs put together a beautiful Easter table setting!
Lucy of Craftberry Bush made a Customizable Watercolour Printable Menu
Jenn of Clean & Scentsible made delicious Vegetarian Mexican Roll-Ups for appetizers
Tara of Suburble has some fun ideas for the Kids Table
Christina of The DIY Mommy put together a Fresh & Happy Spring Dessert Table
I don’t know about you, but’ I’d love to be a part of this beautiful party! Happy Spring!


