Who doesn’t love grabbing a million of those small white pumpkins when you go to the pumpkin patch? Beacuse I’m loving the desert vibes in fall décor this season, I decided to go metallic. If you’re looking for small white pumpkin painting ideas, using gold and copper paints are super fun. Add a desert look to your fall decorations without using metal at all.

Supplies for Gold and Copper Pumpkins:
To make your own copper and gold pumpkins at home, you’ll need:
- Pumpkins. You can use faux pumpkins for this project like I did, or use real small white pumpkins.
- Spray paint. They key to getting the shiny copper look is metallic spray paint. I used Rustoleum Bright Coat Metallic Finish spray paint in copper for my pumpkins.
- Masking tape. If you want the stems of your pumpkins to have a natural look, you’ll need to use masking tape to cover them as you’re painting. But if you want your entire pumpkin to have a copper look, there’s no need for tape.
- Plastic cups. To fully cover your pumpkins in spray paint, place them on top of plastic cups. This will allow you to coat the bottom edges of each of the pumpkins without worrying about getting your hands messy as you spray.

Small White Pumpkin Painting Ideas – How to Go Gold:
Once you have your supplies gathered up, it’s time to start painting. Before you start spraying your paint, make sure you’re in a well-ventilated area. I suggest doing this craft outside if you can, but if not, make sure to open a window to prevent the spray paint chemicals from contaminating your home.
Cover your work area to keep the paint from damaging the space around where you’ll be painting. You can use a cardboard box or newspaper to cover the space. If you want to keep the stem from being covered in paint, wrap a piece of masking tape around the stem to cover it completely.

Set up your plastic cups on the ground upside down, then place one pumpkin on top of each of the cups. Make sure you leave enough space between each pumpkin to move the spray paint can around freely.

Spray each pumpkin in short, fast bursts, moving your hand from side to side as you spray. This method will help you get an even coat of paint and keep the spray paint from becoming runny. Continue spraying until each of the pumpkins is fully covered in paint. Allow the paint to dry completely, then apply a second coat, making sure to fully coat the pumpkins.

When your copper pumpkins are completely dry, you can mix them in with the rest of your desert-inspired fall décor.


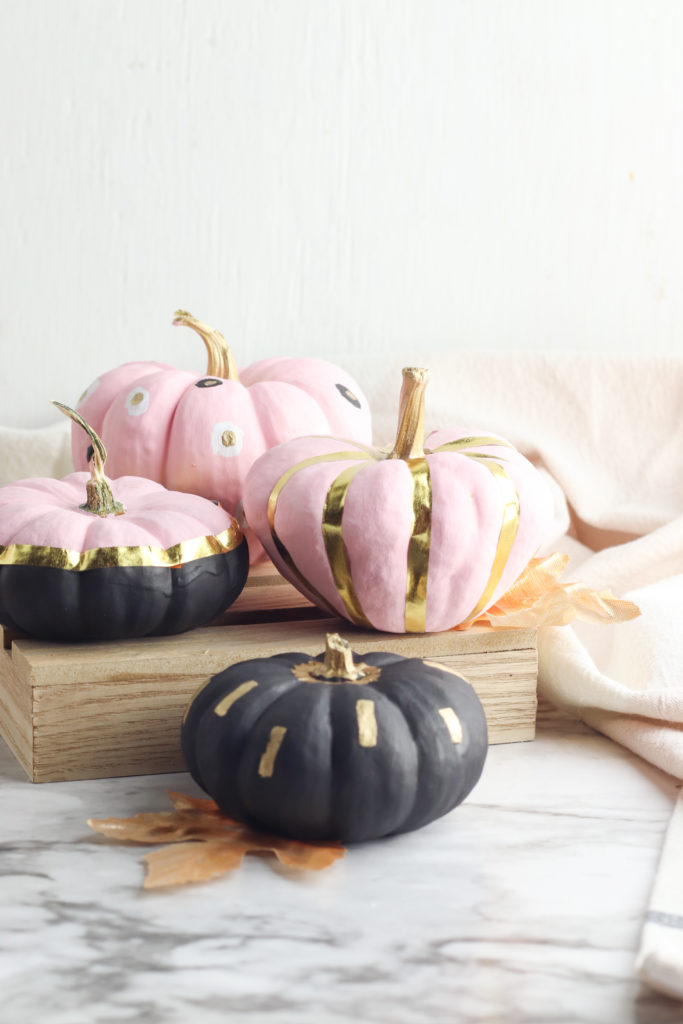
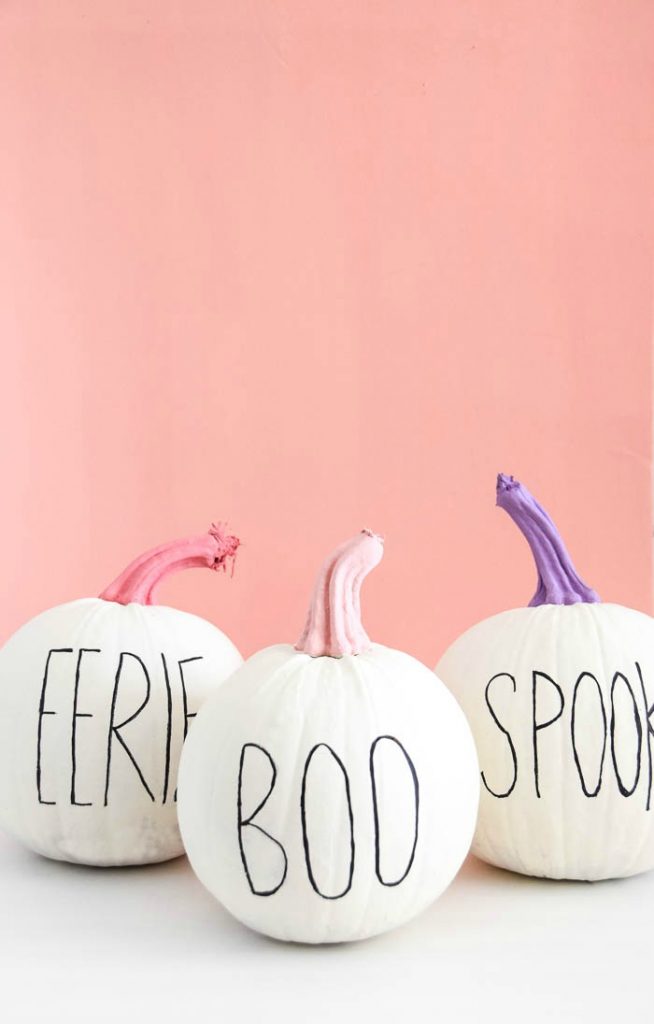
For more pumpkin painting ideas check out these pink + gold mini pumpkins or these no-carve pastel pumpkins.
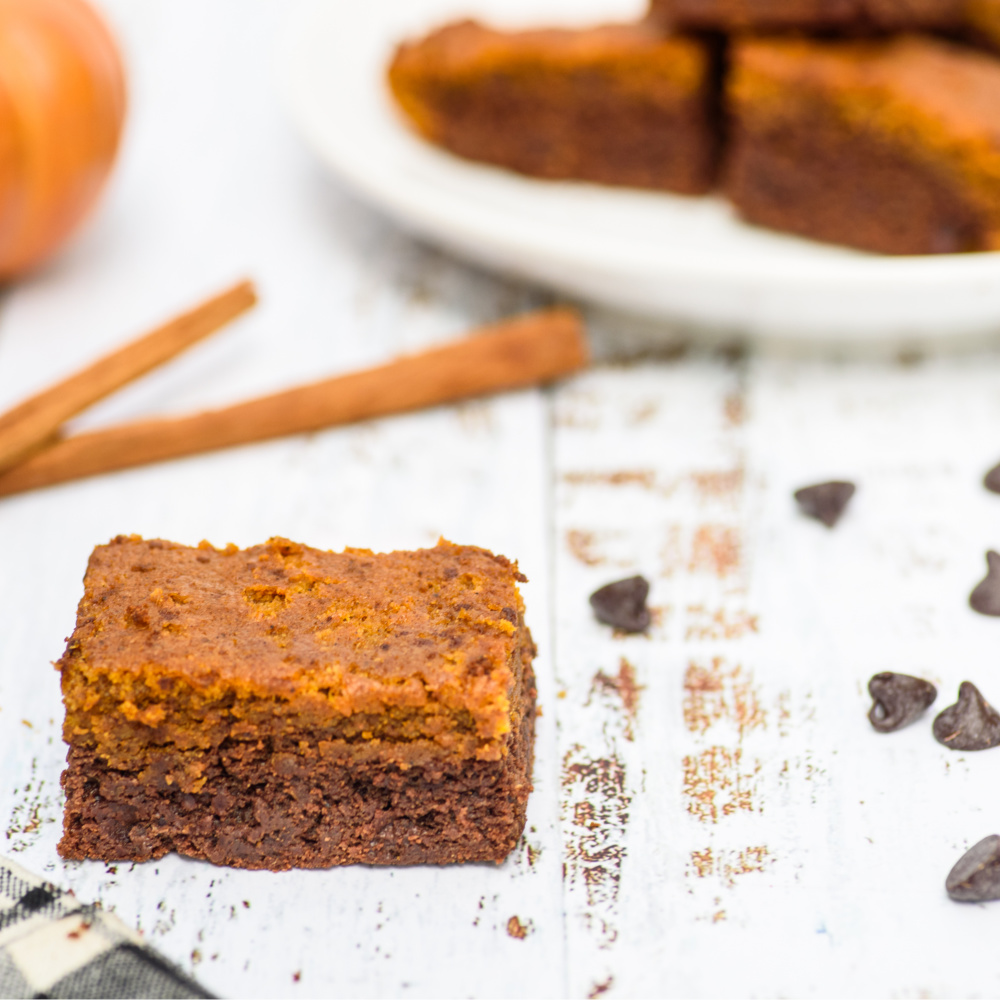
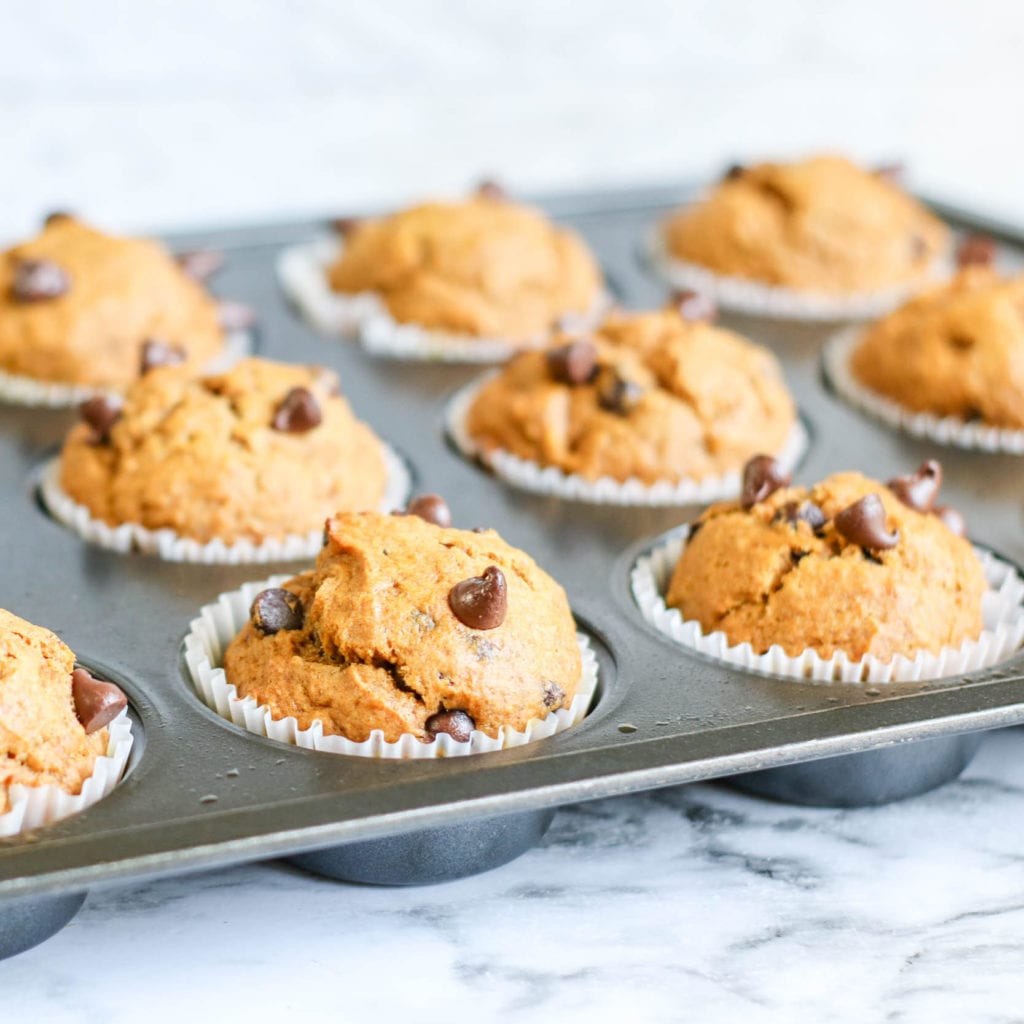
And if you’ve got a sweet tooth and a love for pumpkin check out these delicious recipes!
