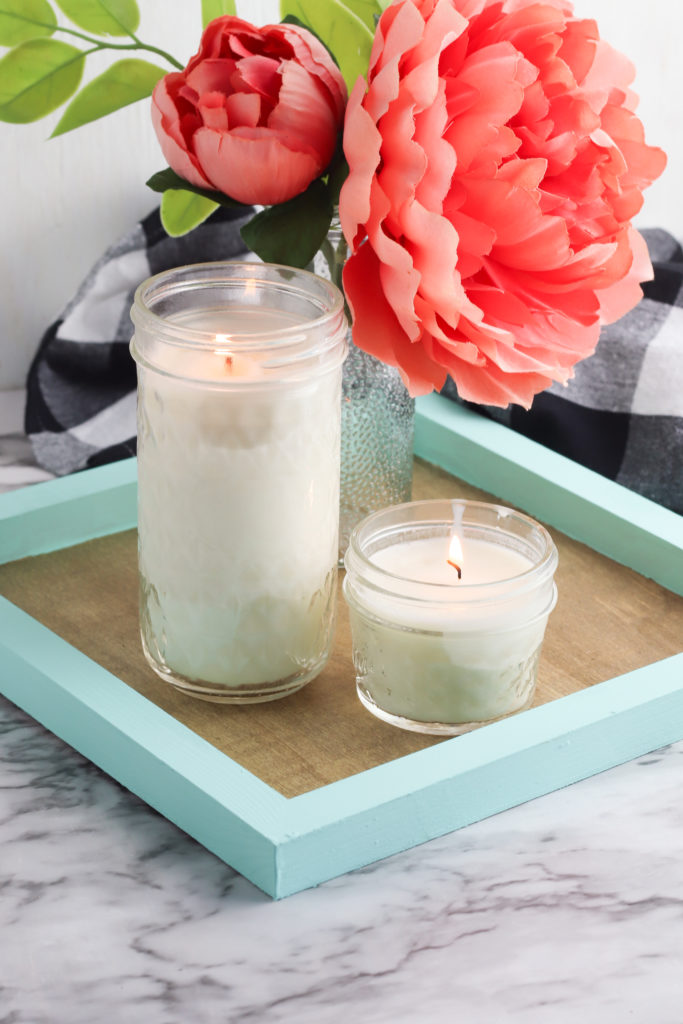
Lighting a candle is one of the best ways to relax and unwind! What if I told you that you could make your own all-natural candles at home quickly and easily? While making your own soy candles may seem like an intimidating project, the truth is – it’s so easy! Follow these simple steps to make your own homemade soy candles at home.

Supplies You’ll Need to Make Soy Candles:
The key to making quick and easy soy candles is to have the right supplies on hand. With the help of these candle making supplies, you can make your own homemade candles at home in no time:
- Candle making wax flakes. To make your candles, you’ll need to start with soy wax flakes. These flakes will be melted down to create your own scented candles.
- Glass jars. Make sure you pick jars that can withstand heat, like canning jars, to hold your candles since you’ll be pouring hot wax directly into the jars.
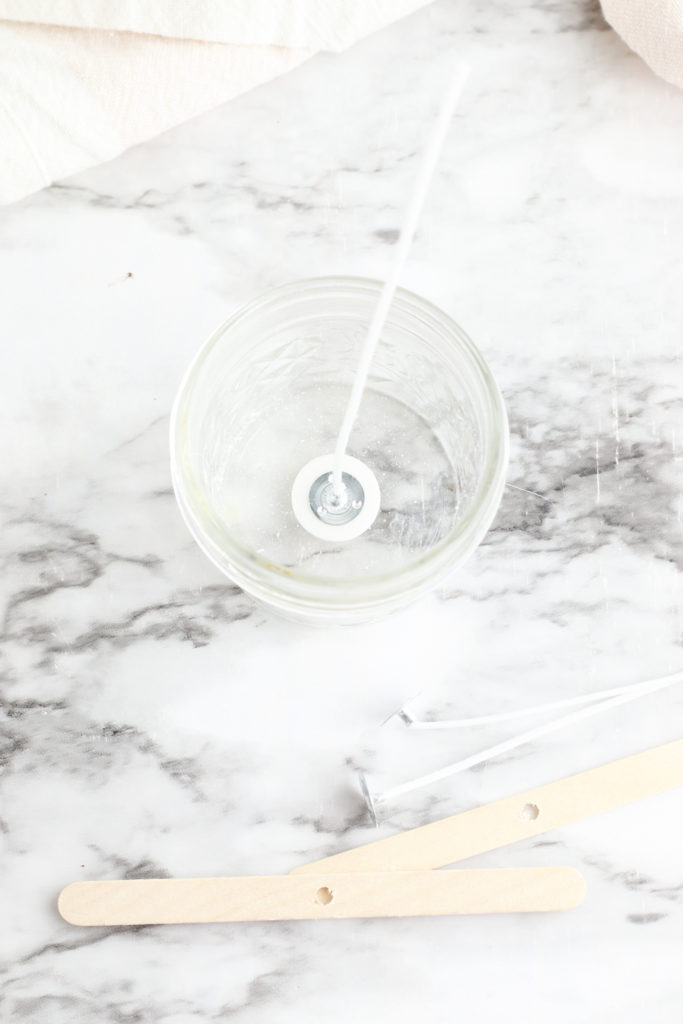
- Candle wick kit. You can’t burn your candles without wicks! With this candle wick kit, you’ll get wicks, stickers to hold the wicks in place, and sticks to keep your wicks centered while the wax hardens.
- Essential oil. To scent your candles naturally, use essential oil. I used lavender oil for my candles to give them a wonderful, calming scent.

How to Make Soy Candles:
Step 1: Measure the wax.
You’ll need about twice the amount of wax flakes as the size of your container. To ensure you have enough wax, fill each of your containers twice with flakes.

Step 2: Create a double boiler.
Pour the measured wax flakes into a glass measuring cup or bowl, then place your glass container in a saucepan. Add around two inches of water to the bottom of the pan to create a double boiler to melt your wax.

Step 3: Heat the wax over medium heat.
Place the pan on your stovetop and heat over medium heat, allowing the water to come to a simmer. Stir the wax occasionally, using a wooden spoon to carefully stir the wax in the bowl.

Step 4: Melt the wax flakes completely.
Continue heating the wax until it is completely melted and there are no large chunks or flakes left. Remove the glass bowl from the pan and allow it to cool slightly, then add your essential oil. Add 10 to 15 drops of oil to the bowl, then stir carefully with your wooden spoon.

Step 5: Prepare your jars.
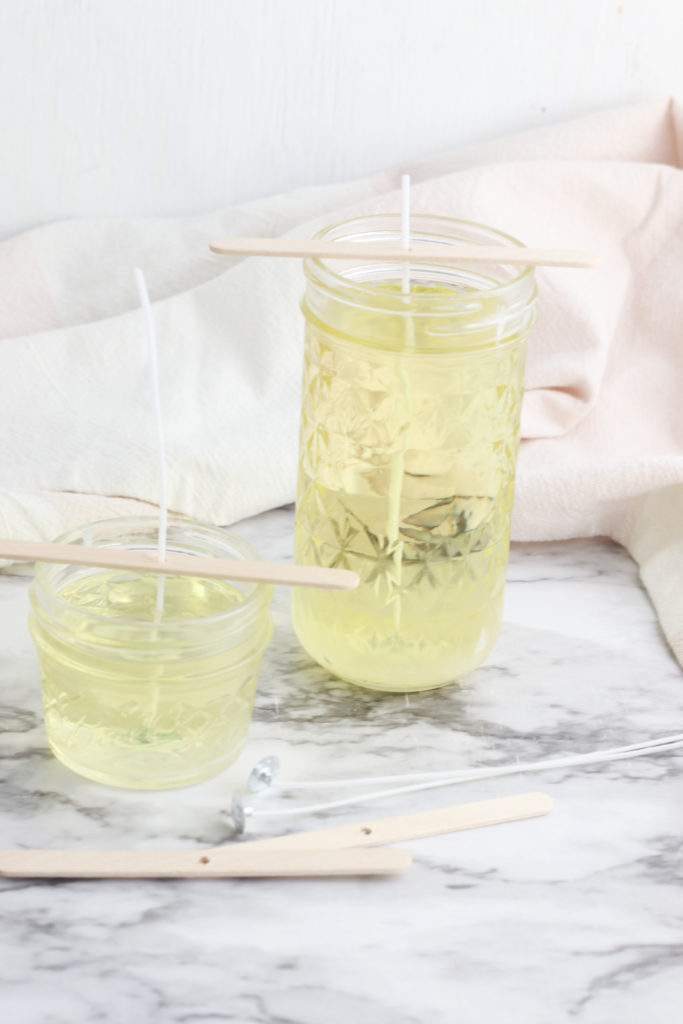
Get out your wick kit. Place the wick sticker in the bottom of the jar, then press the wick into the sticker to secure it in place. Pour the hot wax into the jar, then thread the wick through the hole in the center of your stick. Place the stick on top of the jar to hold the wick upright in the center of the candle.
Step 6: Allow to cool completely.
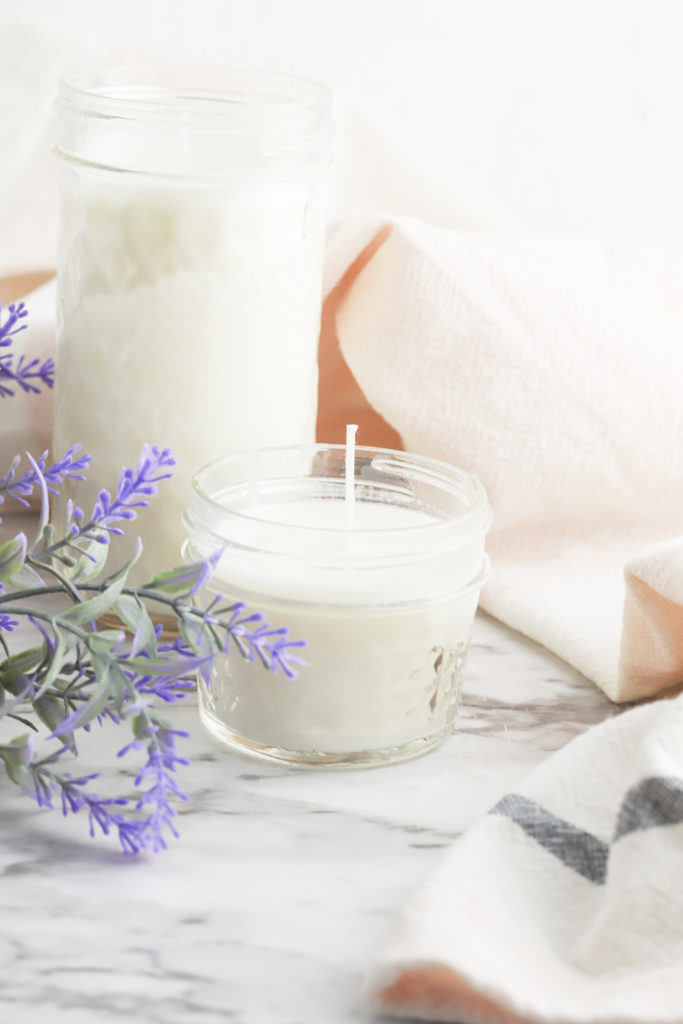
Give your candle at least 12 hours to cool completely. Then, use a pair of scissors to trim the extra wick off the top of the candle.

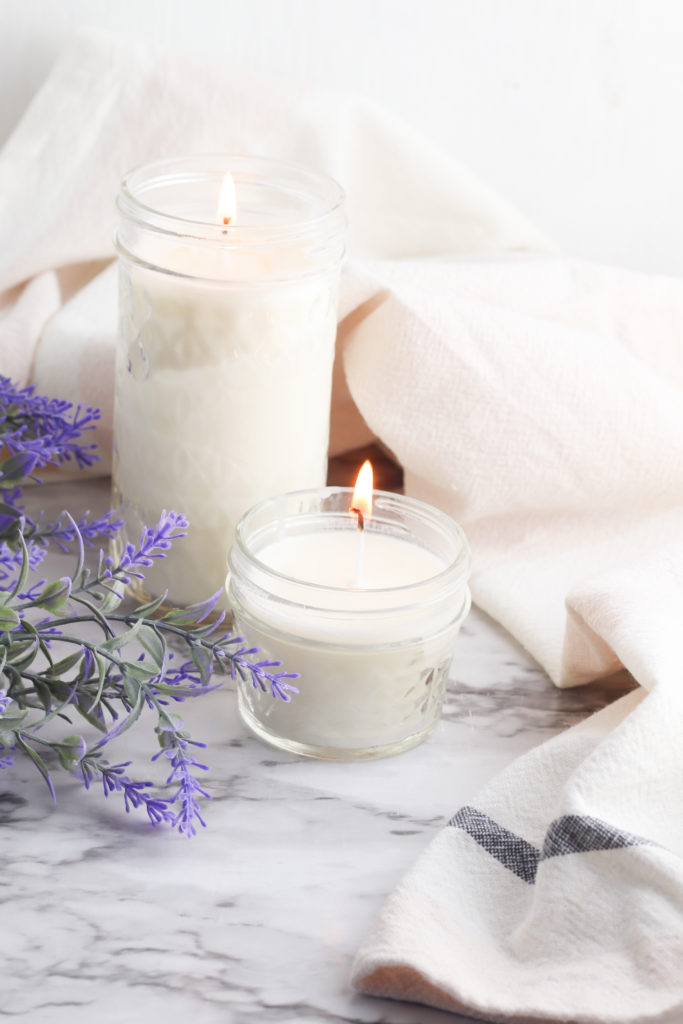
After that, you can light your candle and enjoy the relaxing scent.
Looking for More Homemade Decor Ideas?
- Floral Reed Diffuser
- Painted Wood Tray
- Wood Bead Garland
Pin for later!

