
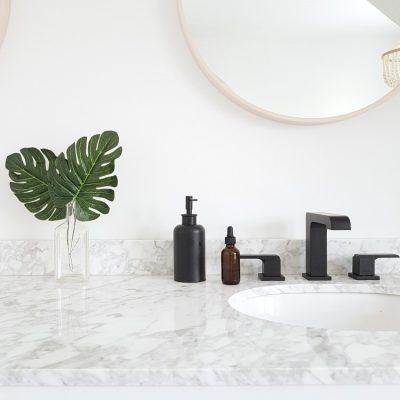
The Sweetest Digs is all about creating a stylish and simple home. Decorating, simplifying, and creating an all-natural home are my jam. I firmly believe that white paint can solve just about ... View the Post


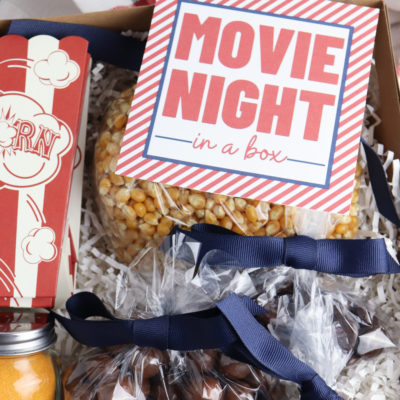
Movie Night in a Box Gift
When you're looking for a DIY gift idea, the "movie night in a box" is one that tops my list. I mean, why not give an experience style of gift? Way more fun! This movie night in a box gift is super cute and a way to make memories with your family or friends (because they better be inviting you to the movie night...!). Movie Night Gift in a Box Supplies What I love most about this easy ... View the Post
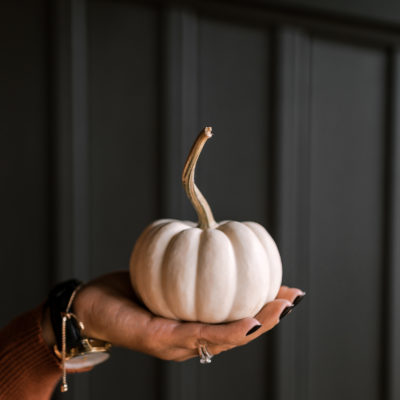
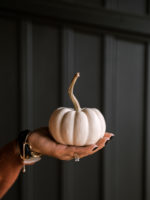
Minimalist Fall Decorating Ideas
I love decorating for Fall. But the cheesy red and orange vibes that has a little too much "farmhouse" isn't for me. If you prefer a Scandinavian vibe and love a more minimalist look, then these inspiration photos and decorating ideas are going to be totally up your alley. I've rounded up some minimalist Fall decorating ideas 2021 that I think you'll love. Fall Decorating Ideas 2021 - White ... View the Post
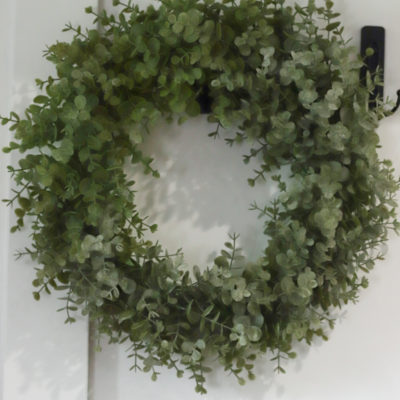
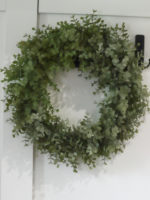
{Tutorial} How To Make A Eucalyptus Wreath
Decorating your door with a eucalyptus wreath is a great way to add some natural style to your home. Whether you’re hoping to dress up your house during the spring months or for the holidays, eucalyptus is a great choice! And the best part about this type of wreath is that it’s so simple to make at home. You only need two craft supplies and a few minutes of your time to create your own beautiful ... View the Post
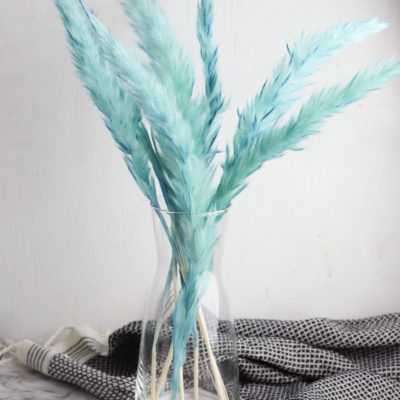
How to Dye Pampas Grass {Tutorial}
Pampas grass is my new favorite fall decoration. And while I love the beautiful neutral colors of natural pampas grass, sometimes you need to make a statement with your arrangement! Luckily, it’s so simple to dye your pampas grass in any shade you want. Follow these easy instructions to add a beautiful pop of color to your next floral arrangement. Supplies You'll Need To Dye Pampas Grass: You ... View the Post
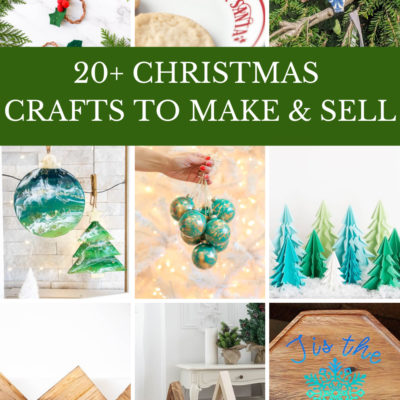
20+ Christmas Crafts To Sell {start a side hustle!}
Looking to start a side hustle? Are you crafty and want to turn that into some revenue? Here are some ideas for Christmas crafts to sell. Choose the ones you want to make and then sell them at your local craft fairs, on Facebook Marketplace, through Instagram, or in your local neighbourhood. People love supporting local and handmade goods, especially during the holiday season, so it's a great time ... View the Post
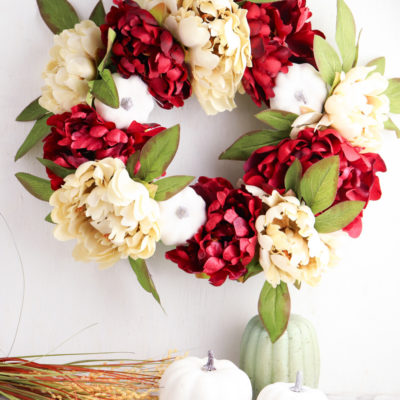
How to Make a Fall Pumpkin Wreath
Wreaths - the best way to decorate any front door, in my opinion! As I’m getting my home ready for Fall, I knew I needed a beautiful fall wreath to add to the rest of my autumn decorations. This fall pumpkin wreath features big fall blooms and mini pumpkins, making it the perfect addition for anyone's autumn décor. Keep reading for the full how-to tutorial! Fall Pumpkin Wreath ... View the Post
- 1
- 2
- 3
- …
- 87
- Next Page »